
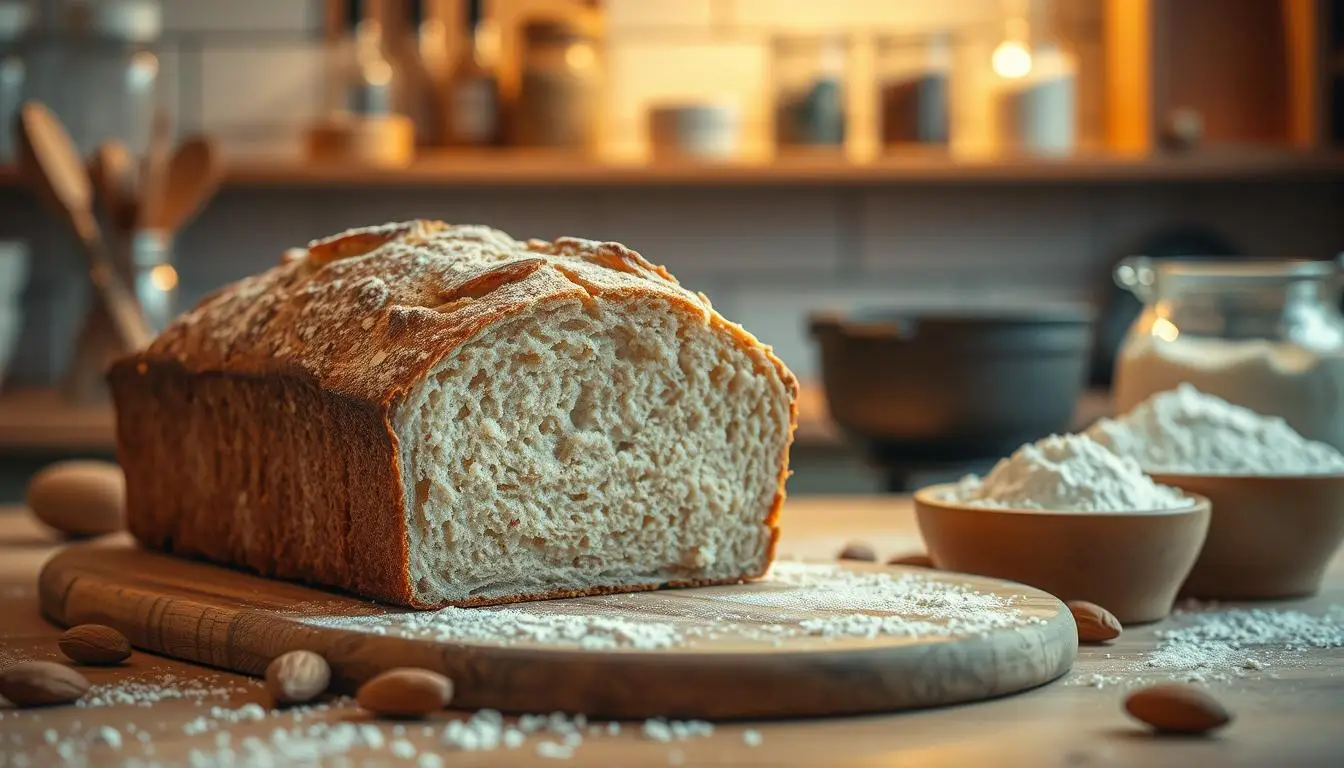
The Best Almond Flour Bread Recipe
You wanted a real, sliceable loaf that held up for sandwiches and toast. This introduction shows how a gluten-free, low-carb loaf became a meal‑prep staple when you used superfine blanched almond flour, psyllium husk for chew and structure, and baked at 350°F until the crust turned very hard.
Expect clear steps and practical cues so you could repeat this loaf each week. The method focused on grind, binder choice, pan height, and a full bake to avoid a gummy center.
You were not after a cake-like quick loaf. Instead, the aim was a sturdy, sliceable sandwich loaf with a satisfying bite and a crisp crust. Later sections will cover swaps, add-ins, and common fixes like purple psyllium tint and dense crumb.
Table of Contents
Why You’ll Love This Almond Flour Bread
This loaf gives you serious sandwich-ready slices without the fragile crumble many alternative loaves deliver. You’ll notice a firm, hearty crumb that still toasts crisp and holds fillings.
What to expect: a sturdy, sliceable gluten-free loaf
The structure comes from psyllium husk and properly beaten eggs. Psyllium adds chew and bind, while whipped eggs trap air so the loaf rises and gains light pockets.
Cool the loaf completely before slicing — that step locks the crumb and makes the cleanest, thinnest slices possible.
- Texture target: firm and sliceable, not wet or crumbly.
- Why it works: structure from psyllium + aerated eggs, not extra starches.
- Realistic crumb: satisfying and hearty, like many top gluten-free bread recipes.
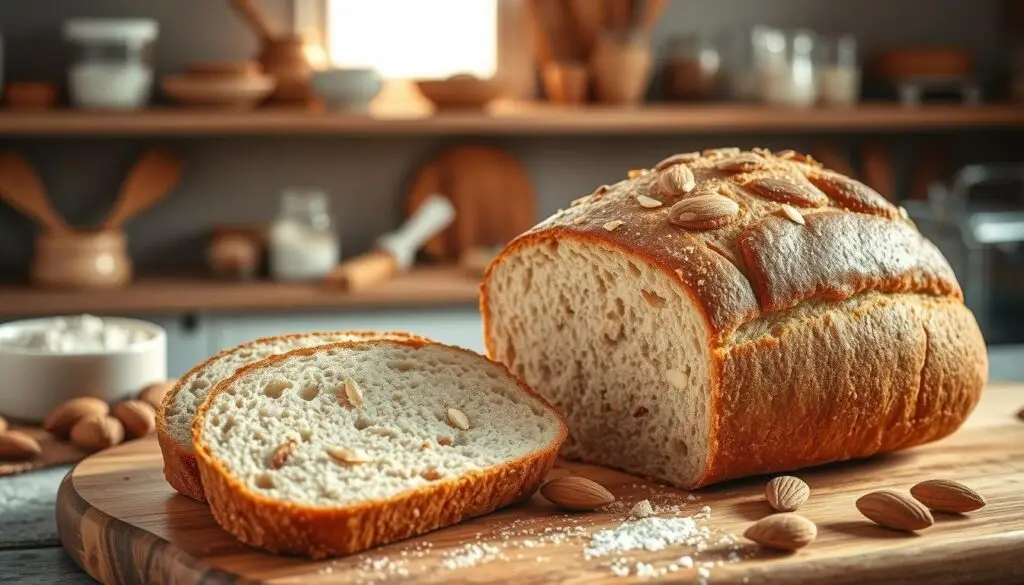
Best ways to use it for sandwiches, toast, and meal prep
Use two slices for a classic sandwich, make open-faced builds, or cut toaster-friendly portions for quick breakfasts. The loaf holds up when stacked and packed for a ready meal.
Batch bake, cool fully, and slice into portions to store. Wrapped with parchment between slices, it stays grab-and-go for the week.
Almond Flour Bread Recipe Ingredients You Need
Choose ingredients that give the loaf a tight, non-grainy crumb and reliable sliceability. The right dry and wet components make the biggest difference when you want a sandwich-ready loaf that holds up.
Blanched vs. almond meal and why grind matters
Use superfine blanched almond flour for a smooth crumb. Coarser almond meal with skins can make slices gritty and dry.
Psyllium husk powder for structure and chew
Psyllium husk is non-negotiable here. Bloom the powder in warm water so it swells and gives chew and stability for clean slicing.
Leavening: baking powder or baking soda?
Most formulas use baking powder for reliable lift. If you use baking soda, add an acid like honey or apple cider vinegar to activate it.
Eggs, water, oil, and seasonings
Beat the eggs to add volume. Warm water hydrates the psyllium. Choose oils—coconut, butter, avocado, or a touch of olive oil—for moisture without greasiness.
- Salt for balance.
- Toppings: sesame seeds or bagel seasoning for a bakery finish.
- Use about one tablespoon of psyllium powder per formula guideline.
Tools and Pan Setup for the Best Loaf
Pick the right pan and tools so your loaf bakes evenly and unmolds cleanly. The setup you choose determines crust, crumb, and how long the center needs in the oven.
Loaf pan with parchment for sandwich-ready slices
Use a loaf pan lined with parchment paper to ensure clean removal. Lining the bottom prevents tearing and keeps slices intact when you pull the loaf from the pan.
Baking sheet option for a crustier, free-form shape
A baking sheet reduces trapped moisture and helps the center bake through faster. If you want a thicker crust and shorter dense-center bake time, shape the loaf on a sheet instead of a deep pan.
Mixing tools: what to use and when
Whisk dry ingredients in a bowl to break up lumps. Beat eggs with an electric mixer for lift, then fold with a spatula when the batter thickens.
Optional: a food processor speeds mixing but isn’t required. Move swiftly from mixing to shaping so the psyllium hydrates on schedule and your baking time stays predictable.
Preheat Oven 350 and Prep Your Baking Surface
Preheat your oven to 350°F so the loaf begins setting the moment it goes in. Hitting the right heat up front stopped slow warming that can dry edges while leaving the center underbaked.
Temperature and timing matter more here than in quick breads. Multiple sources used 350°F (about 177–180°C) and found bake times from roughly 50 to 70 minutes depending on loaf height and pan choice.
Plan a realistic bake window
Expect a range, not a single number. Set a 50–70 minutes window so you don’t pull the loaf early because the top browned. The crust can look done long before the center is fully set.
Prep the pan while the oven heats
Line your pan or sheet with parchment and shape the loaf right as the oven reaches 350°F. That way the dough won’t sit and over-hydrate the psyllium, and you’ll avoid extra waiting time that changes texture.
Convection vs. conventional
Use a slight temperature adjustment if your oven is fan-forced. Convection ovens often run hotter and cut minutes; drop 10–15°F or check earlier in the bake. Monitor by internal feel and the “hard crust” cue rather than color alone.
- Quick checklist: preheat oven 350, parchment-lined pan, plan 50–70 minutes, adjust for convection.
- Keep a kitchen timer handy and test doneness by firmness and a probe, not just look.
How to Make the Batter or Dough
Begin with a clean bowl and whisk the dry ingredients until they are uniform. Break up any lumps so the baking powder and other powder components will disperse and avoid pockets that harm lift.
Beat the eggs for volume
Beat the eggs until they roughly double. This trapped air is a key contributor to good bread rise and a lighter crumb.
Bloom the psyllium
Stir the psyllium husk into warm water and let it sit. Wait the recommended ~10 minutes so the fiber swells and turns gelatinous. This step stabilizes the dough.
Know the stages
Mix wet and dry to form a loose batter at first. After hydration and a short rest the mix will tighten into a moist ball ready for shaping.
- Tip: Pause for 10–12 minutes before shaping.
- If the mix stays soupy, add a little more psyllium husk.
- Use the recipe card for exact measures; the method guides feel and timing.
Shaping Tips That Prevent a Gummy Center
Shape the loaf with intent: thickness controls how evenly it bakes through. Keep the profile low and even so the center has time to dry and set during baking.
For a free-form loaf, aim no taller than about 3 cm (1.2 in). A thick dome will brown outside and stay tacky inside. Remember this loaf won’t rise like wheat bread, so your shaping is practical, not decorative.
Smoothing cracks
Use hands lightly coated with olive oil or damp water to smooth surface cracks. That simple step helps the crust bake evenly and reduces deep splits that trap moisture.
Think about setup: a deep pan can trap steam if you shape a thick loaf. On a sheet, a low shape bakes through faster. Add a few extra minutes in the oven if your loaf looks set on the outside but still feels soft in the middle.
- Thickness matters: avoid tall domes to prevent a gummy center.
- Height target: ~3 cm / 1.2 in for free-form loaves.
- Surface finish: smooth cracks with lightly oiled fingers for even baking.
Baking the Almond Flour Bread Until It’s Fully Done
Finish the bake only when the interior has dried and the crust feels firm under your palm. Use a toothpick, but don’t rely on it alone; the toothpick can come out clean while the center still needs more drying time.
Toothpick test and the hard-crust cue
Insert a toothpick in the center. If it comes out with wet batter, add 5–10 more minutes.
Then press the top. The crust should feel very hard, not just browned. That hard crust is your second, more reliable sign of doneness.
How pan size and loaf height changed bake time
A standard loaf pan at 350°F baked about 55–70 minutes depending on thickness. Thicker loaves took the upper end of that range; shallow pans took less time.
Adjust minutes for your pan and check both toothpick and crust firmness rather than trusting one cue.
Cooling completely for clean slices
Cool the loaf fully, preferably overnight, before slicing. Steam finished inside the loaf; cooling let it firm up to a texture similar to wheat bread.
Plan your oven time and a full cooling window so your slices stay firm and clean when you cut them the next day.
- Quick checks: toothpick + hard crust.
- Time guide: 55–70 minutes in a loaf pan at 350°F.
- Finish: cool completely or overnight for best slices.
Flavor Variations and Add-Ins (Plain or Savory)
Give the loaf a fresh lift by adding bold herbs and simple mix-ins without changing the base method. You can make the same loaf plain or savory depending on the week. Swap one item at a time and watch hydration so the dough stays workable.
Rosemary and thyme for a bakery-style loaf
Fresh rosemary and thyme add a fragrant, savory profile that holds up during baking. Chop leaves fine and fold them into the batter just before shaping.
Fat swaps: oils and butter
Use olive oil, avocado oil, coconut oil, or melted butter interchangeably. Each oil shifts mouthfeel slightly: olive oil gives a savory note, coconut oil adds mild sweetness, and butter adds richness.
Optional mix-ins and the quick bread option
Add flaxseed meal for a heartier crumb and extra structure. If you use baking soda, add apple cider vinegar (or a touch of honey) to activate lift and create a quick bread-style rise.
- Keep it low-risk: change one ingredient at a time.
- Watch hydration: add a tablespoon of water if mix-ins dry the dough.
- Shape the same: keep loaf height steady so the center bakes through.
These swaps let you vary flavor without rewriting the core method. Use them to plan meals and adapt these recipes to what you have on hand.
Serving Ideas for Almond Flour Bread Slices
A quick toast can rescue texture and bring back a crisp bite. Toast thin slices until the surface is golden and the crumb firms. This restores chew and improves the bite for open-faced toppings.
Best ways to toast and top for quick meals
Toast with purpose: use medium-high heat and check at 60–90 seconds per side. That time crisps without over-drying dense loaves.
Top with savory spreads, sliced protein, and crunchy veg. A smear of hummus, smoked turkey, and pickled onion makes a fast meal that won’t compress the slice.
Make-ahead ideas for snacks and lunchbox sandwiches
Slice the loaf thin and layer parchment between each slice before freezing. Pull a couple of slices, toast, and build simple sandwiches for a weekday meal.
“Toast one side, stack fillings lightly, and pack flat to keep sandwiches from squashing.”
- Pre-slice for grab-and-go snacks.
- Toast to revive damp texture.
- Use dryer fillings for sturdier sandwiches and longer storage life.
Storage, Freezing, and Reheating Without Ruining Texture
Store the cooled loaf so its crust stays crisp and the crumb keeps its chew. Wrap the loaf in a layer of parchment paper, not plastic, to avoid trapped moisture. Place the wrapped loaf in a bread box or on the counter for short-term use.
Counter and fridge storage tips
On the counter, use parchment and a light cover for 3–4 days. This avoids condensation that softens the crust.
If you need longer, move the wrapped loaf to the fridge. Store in parchment and a loose bag for up to a week. Avoid sealing hot or warm slices; give them time to cool first.
Freezing slices for grab-and-toast convenience
Pre-slice the loaf, then layer each slice with parchment between them. Stack the portioned slices in a zip-top bag and freeze.
Frozen slices keep well for 3–6 months. Toast directly from frozen for a crisp surface without over-drying the crumb.
How to revive damp or too-dense slices
If slices turn damp or gummy, re-toast them for a few minutes to drive off excess moisture and restore crunch. For dense slices, toast thinly and add moist toppings like avocado or a spread to balance texture without re-baking.
- Quick rules: use parchment paper, counter 3–4 days, fridge up to a week, freeze 3–6 months.
- Freeze with parchment between slices so portions separate cleanly.
- Toast from frozen or re-toast for a few minutes to revive texture.
Troubleshooting Common Almond Flour Bread Problems
When the loaf doesn’t behave, start with a quick checklist of eggs, leaveners, and timing. These three items explain most rise and texture issues and give you fast, testable fixes.
Bread didn’t rise: common causes and fixes
If your loaf stays flat, first check that you beat the eggs enough. Under-aerated eggs lead to poor bread rise.
Next, confirm your baking powder or baking soda is fresh. If you use baking soda, pair it with an acid (yogurt, vinegar, or honey) to activate it.
- Fix it: re-check egg volume, replace old leaveners, and match leavener to the formula.
- Use baking powder when no acid is present; use baking soda only with an acid in the ingredients.
Center is gummy or wet: shaping, bake time, and drying options
A tacky center usually comes from shaping the loaf too tall or pulling it early. Lower the profile and give the oven extra minutes until the crust is firm.
If slices are damp after cooling, save them: slice thin and toast or dry on a rack in the oven for a few minutes. This restores structure without wasting a loaf.
Purple tint from psyllium husk: what it means and how to avoid it
A purple-blue tint can appear when certain psyllium husk brands react with minerals. It is harmless.
How to avoid it: switch to a different brand of psyllium husk or test a small batch before scaling up.
Ingredient pitfalls: defatted flour, coarse meal, or supplement-style husk
Avoid defatted almond flour and coarse almond meal; they dry the crumb and ruin texture compared with superfine products.
Also skip supplement-style husk products that mix fillers. Use pure psyllium husk labeled for cooking or baking.
“Match your ingredients to the method, and treat texture checks as the real doneness test.”
Conclusion
A dependable loaf starts with a few non‑negotiable steps you can repeat each week. Use superfine almond and the right grind, rely on psyllium husk for structure, and finish with a full bake at 350°F until the crust feels very firm.
Beat eggs for lift, hydrate the fiber, and shape to a low profile so the center dries through. Cool fully before slicing to lock the crumb and get clean, even cuts.
Choose your pan method and flavor direction, store wrapped in parchment, and toast slices from the fridge or freezer to revive texture. Treat this loaf like a weekly staple: bake, cool, slice, and stash for reliable meals.
If almond flour bread has become a weekly staple in your kitchen, expanding your options can make low-carb baking even more practical. This complete keto bread guide brings together multiple tested recipes, precise ratios, and troubleshooting methods to help you bake reliable, sliceable loaves every time—without trial and error. From sandwich breads to toast-ready loaves, the techniques are designed for real use, storage, and meal prep.
👉 Access the full Keto Bread Book here.
FAQ
What temperature should you preheat the oven to?
Which is better for structure, blanched almond flour or almond meal?
Do you need psyllium husk powder and what does it do?
When should you use baking soda instead of baking powder?
What oil works best for flavor and texture?
How do you prepare the pan to prevent sticking?
Can you use a baking sheet instead of a loaf pan?
How should you mix the dry ingredients?
Should you beat the eggs or fold them gently?
How long should you bloom psyllium husk in water?
What consistency should the batter or dough be?
How tall should you shape the loaf for full baking?
How do you smooth cracks before baking?
How do you test doneness without overbaking?
How does pan size affect bake time?
Should you cool the loaf before slicing?
What savory add-ins work well?
Can you swap different fats in the formula?
How should you store and freeze slices?
How do you revive a loaf that turned damp or dense?
Why did my loaf fail to rise?
What causes a purple tint from psyllium husk?
Can you use defatted nut meal or supplement-style husk products?
There are no reviews yet. Be the first one to write one.